Advertisement

LightBlog

Breaking

Test Blog

Sunday, May 20, 2018

May 20, 2018

How to Create an Animated GIF in Photoshop

Animated GIFs, like a before/after image are a great way to show off your editing work. Learn how to create a simple Animated GIF from any image in Photoshop!
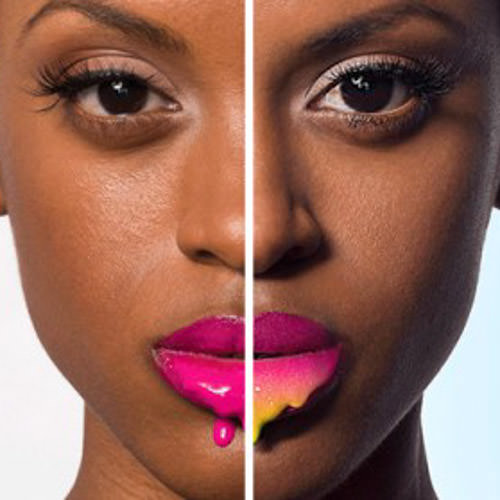
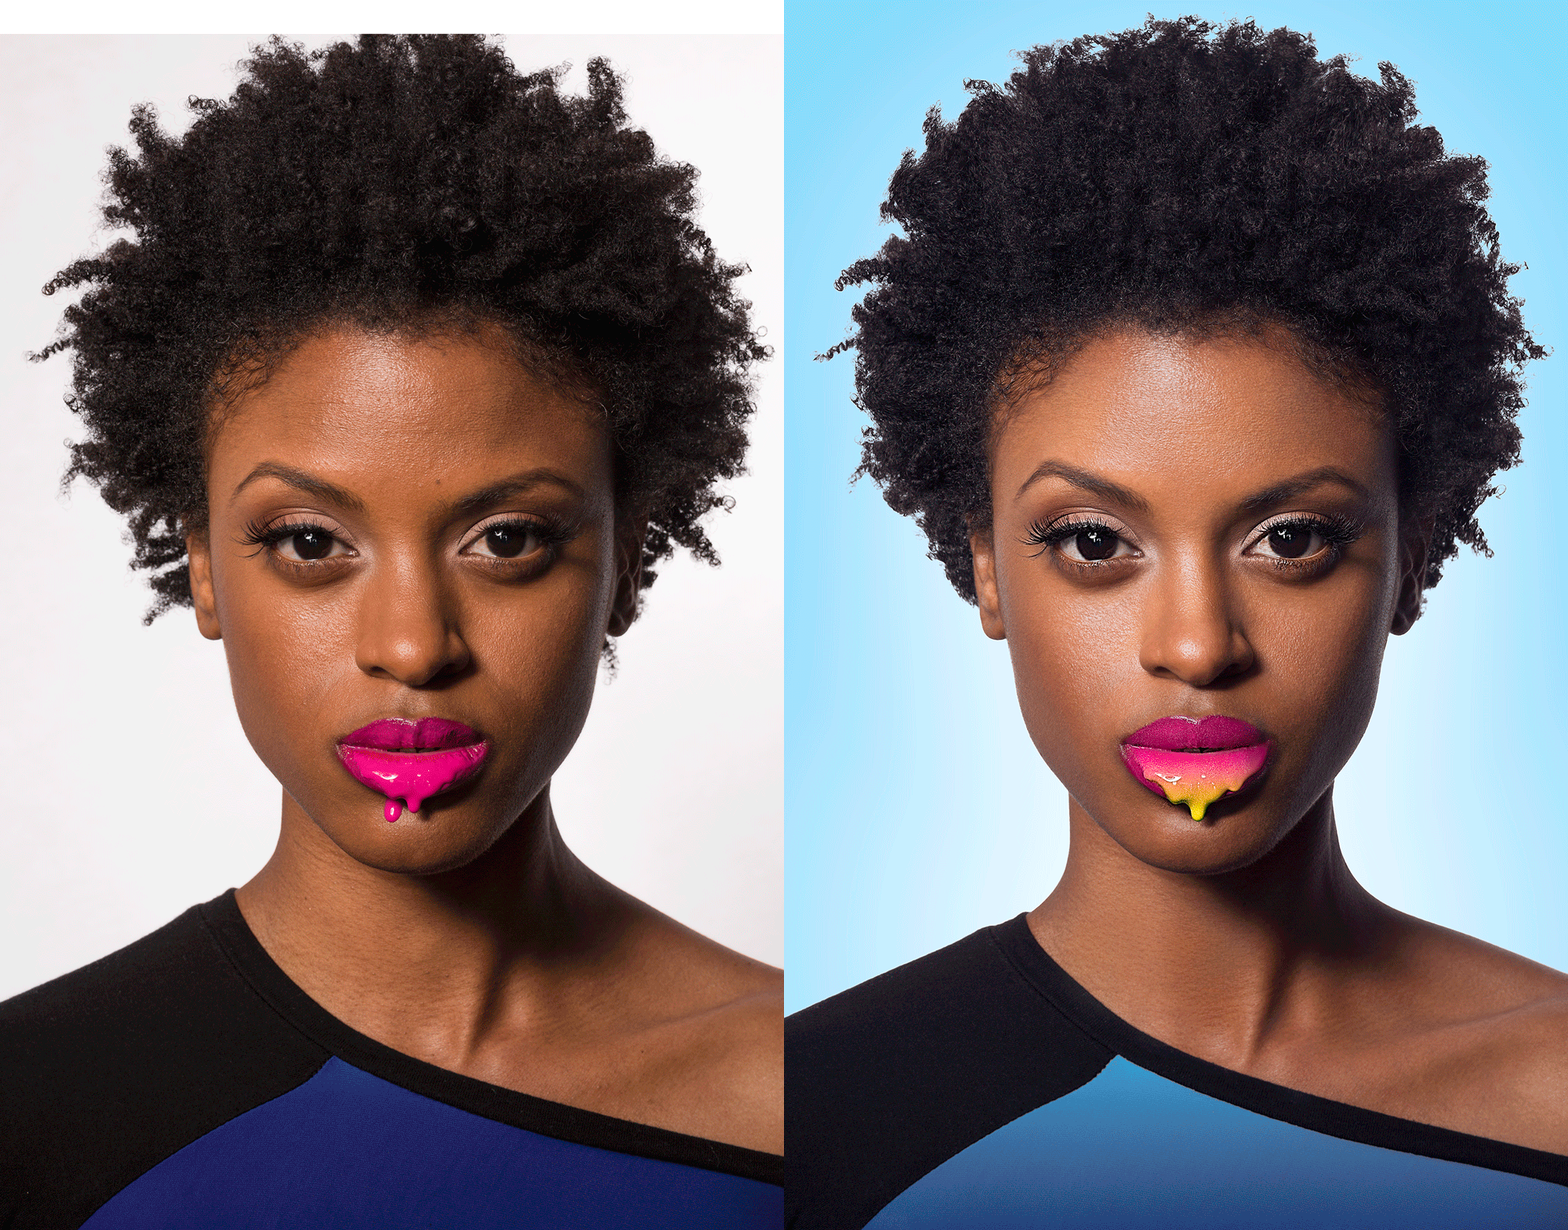


How to Make Before and After Layers

The first step to creating an Animated Gif is to get the “Before” and “After” images. In many cases, the “Before” image will be an unedited photo. This will most likely be the Background layer of any Photoshop file.
Each change you make to an image should be on a New Layer, allowing for changes to be undone at any time. After adding many layers and Adjustments to an image, you are left with the “After” version. You will need all these changes to be visible on a single layer to make the “After” Layer.
Create a New Layer on the top of the document and navigate to ‘Image – Apply Image’. Choose “Merged”, “Multiply”, and make sure “Invert” is not checked. This will place a copy of your image onto one layer.
This is the “After” Layer.

Duplicate Layers to New Document

After creating the “After” layer, it is time to duplicate the “Before” and “After” layers onto a new document.
Create a new document sized for the Web. Image resolution will depend on where this image will live. For instance, if you want this image on Instagram, try a resolution of 1000x1000px.
After creating a new document, select both the “Before” and “After” layers from the original image and Click+Drag them to the new document. Be sure to select both layers when making any Adjustments, as you need them to be in the same place.
It is a good idea to turn both the “Before” and “After” layers into Smart Objects before transforming them in the new document. This will allow you to change Image Size without affecting quality. To turn the layers into Smart Objects, Right-Click on each layer and go to “Convert To Smart Object”.
Select Both layers and Transform them into place.

How to Create a Before & After Animation

Now that both the “Before” and “After” layers are sized correctly on the new document, it is time to create a simple Animation. Go to “Window – Timeline” to open the animation Timeline and click on “Create New Frame Animation”.
Use the “New Frame” icon to make Frames from the “Before” and “After” layers. Choose the Frame duration and how many times the Animation will repeat. In this example, we choose “3 Seconds” and “Forever”.
Be sure to hit the “Play” button to view the animation in the timeline.

Exporting for the Web

After the Animation is playing well, it is time to export it to the Web. Go to ‘File – Export – Save for Web’ and choose GIF from the drop-down menu.
Be sure to check the animation on the right side of the export panel to see if it is still playing well. When you are satisfied with all the export settings, click the “Export” button and choose a destination folder.
To view the final “Before & After” Animated GIF online, upload it to the desired website or open the image in Google Chrome, Safari or Firefox.
You are ready to show your work off to the world!
May 20, 2018

How to Create an Inspirational Video for Instagram

Make a stronger impact by creating an inspirational Instagram GIF video!


Create a New Document Sized for Instagram

Start by creating a document perfectly sized for Instagram by going to “File – New” and choose 1080 x 1080 for the size.


Quick Tip: The Ideal File Size for Instagram is 1080px x 1080px.
Next, bring in the sample image or an image of your choice and turn it into a smart object. Smart Objects allow you to resize a photo without losing resolution.

How to Add Type

The next step in creating an inspirational image is to add some text. Press T for the type tool, choose your font, color and weight and enter your desired quote or message.
In this case, we split up the message into two segments and chose a different font weight for each segment.
To center align text, select the type layer and then make a selection of the entire document by pressing CTRL/CMD+A then selecting the Move Tool by pressing V and using the Align Tools on the top of the screen.
To move an object vertically, hold SHIFT and click-drag the object up and down.

How to Turn Your Image into an Animation in Photoshop

To make any photo into an animation in Photoshop, click on “Window – Timeline.” From here you can choose a video timeline or a frame animation. In this case we are going to create a video timeline.
All of your layers will load as video layers in the video timeline. To change the duration of any video layers, click and drag at the beginning or end of any clip. To view your animation, click on the “Play Button.” In this case, we stagger the text to show up from top to bottom.
Be sure to adjust the layers in the video timeline after pressing “Play” to get your timing right.

How to Create Video Transitions in Photoshop

Video Transitions will add a bit more depth and polish to your animation. To add a transition, simply click on the Video Transitions Icon and click-and-drag the transition of your choice onto the video clip.
To adjust the length of the transition, click on the transition in the video timeline and drag the end of it to make the transition longer or shorter.

How to Export Videos in Photoshop

After creating your video animation, it is time to export! When exporting for Instagram, be sure to render the animation as a video.
Go to “File – Export – Render Video.” The best setting to choose for Instagram is H.264 and all the standard settings that come with this preset. Choose your destination folder and click on Export.
To play your video, navigate to it in Finder or Window.

How to Get Your Video on Instagram

In order to get your video on Instagram, you first have to get it on your phone.
There are many ways to transfer files onto a phone. You can email, text, airdrop, transfer via USB or use another transfer program.
Once the video is on your phone, simply load it into Instagram and you are done!
May 20, 2018

How to Color Tone Video in Photoshop

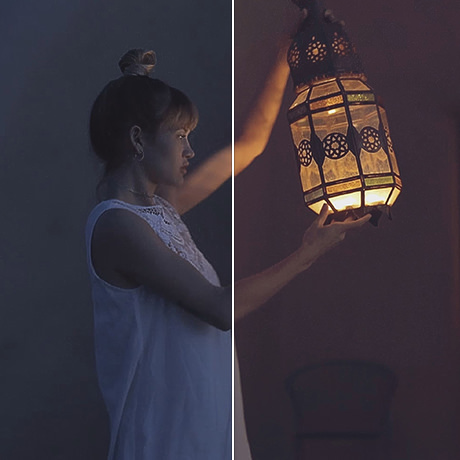
Who knew you could create beautiful color grades for video in Photoshop?

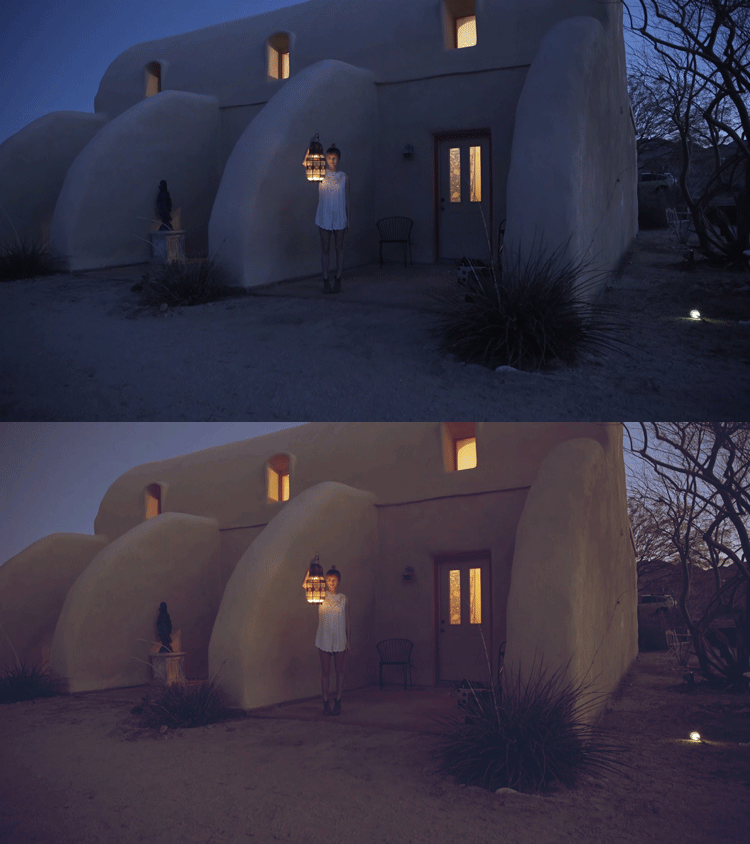
Apply all of your favorite photo color toning techniques to videos in Photoshop. In a few simple steps, we add wonderful color to video footage.


Quick Tip: If you do not see your timeline window, go to Window > Timeline.
This Timeline is the biggest difference between editing color for photo and video. Once you have imported your video and the timeline is visible, it is time to color grade.

How to Use a Curves Adjustment Layer on Video

Make a Curves adjustment layer by going down to the Adjustment layer icon and choosing Curves. It will show up as usual in the Layers tab and now in the Timeline too, right above your video. We dragged the center of the Curve upward to make our image just a little bit brighter.
To keep the brightness from overexposing our highlights, double click on the Adjustment layer. In the Blend-If dialog, hold ALT (Windows) or OPTION (iOS) and drag from left to right to make the Curves layer invisible where the underlying layer is lighter. This will lighten only the underexposed shadows for a great base color grade.
If you need to change when the adjustment layer turns on or off during the video, just drag the edge of the layer in the timeline to the right or left. You can see and manipulate exactly when the color grading shows up so it matches any action in your video.

Adding Color Tones

Although you can apply almost any coloring technique you use for photos to your video, in this tutorial we will cover two ways to color grade your videos.
The first technique we use is applying a solid color Adjustment layer to the desired chunk of footage. In this case we use an orange to warm the scene up. Change the layer blend mode to Soft Light and see how you like your color choice. You can always adjust the color of your fill layer until you find the perfect color tones.
The second technique we use is applying another Curves adjustment layer to target and adjust our Reds, Blues, and Greens individually. This allows us to narrow in on specific tones reducing or intensifying them.
You can add color specifically to your shadows by creating another solid fill layer, choosing the desired color, and selecting Lighten in the layer blend modes. The Lighten blend mode makes anything lighter than your chosen color remain the same, and anything darker will take your solid fill color. Adjust your fill color to choose which color appears in the shadows.
Remember, you can modify the opacity on each adjustment layer to change the intensity of its color tone.

Add Smooth Transitions to Color Adjustments

By applying transitions to our Curves adjustment layers, we can make our color adjustments fade in or out. This is extremely useful when you have a scene you want to gradually become lighter or darker.
May 20, 2018

Create Stunning Bokeh Effects in Photoshop

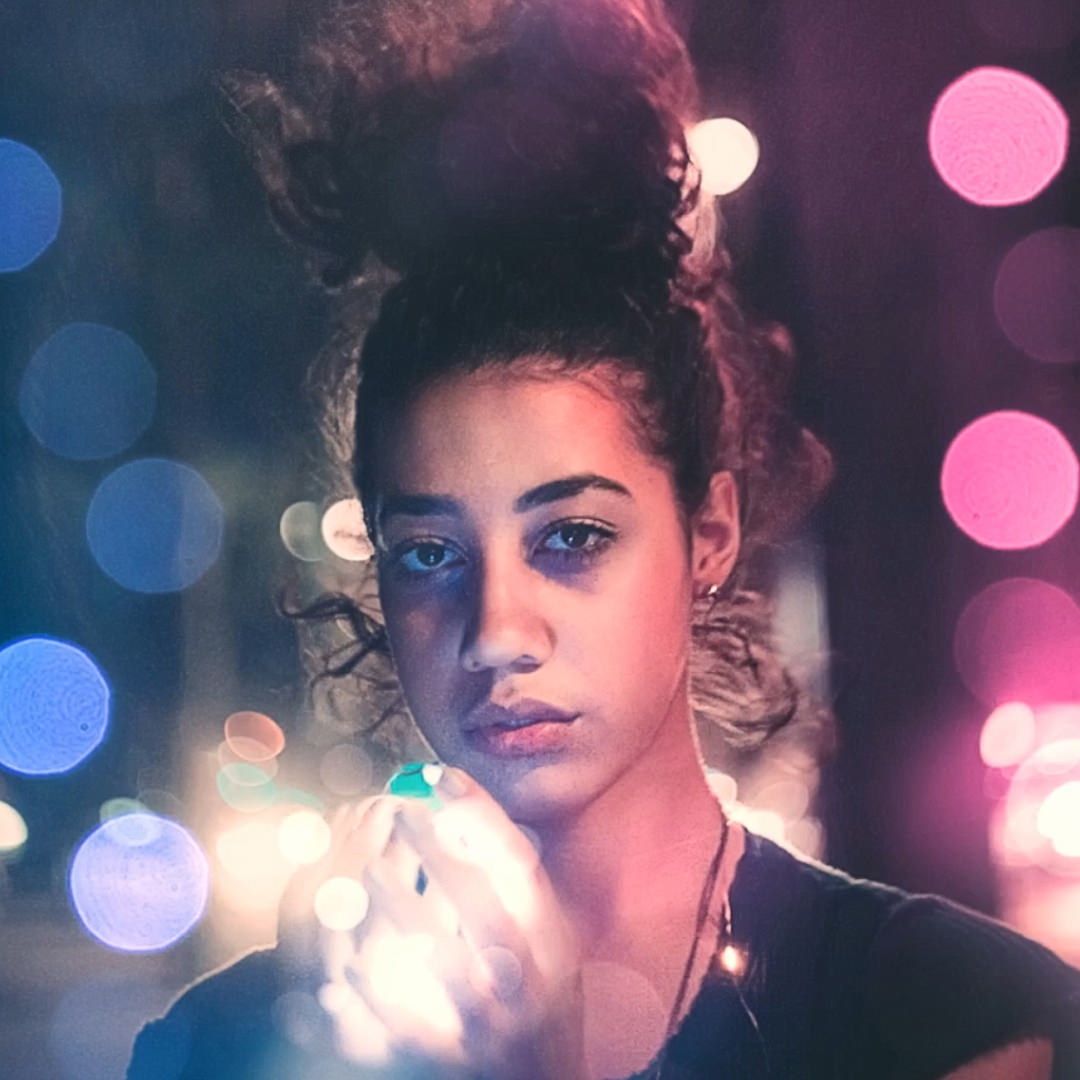
Add creamy, beautiful bokeh to your photos in Photoshop using this simple technique! Help your photos look magical and make more friends in the process.


BREAKING BOKEH

Bokeh continues to be one of the most trendy and ubiquitous effects in photography (a quick Google search of “bokeh cats” proves this to be true.) When used properly, bokeh can help isolate your subject from a background while creating a striking and beautiful environment that won’t distract the viewer. When it’s not used properly, well, then you’ve just got another blurry background longing to be something more.
Sad, right? Don’t leave your background hanging like that.
It’s also important to note (which is why we’re noting it) that bokeh isn’t simply the out-of-focus
areas of an image – bokeh is the aesthetic quality of those out-of-focus areas.
So as photographers, how do we create bokeh that is both beautiful and effective? The easiest way is to capture your image with a DSLR and a fast, high-quality lens. In fact, the design of a lens is the single-most important factor in determining it’s overall appearance – the quality and build of a lens can result in bokeh of different sizes, colors, shapes, and softness.
To create the effect, shoot with a shallow depth of field by opening up the aperture of your lens. The wider your aperture, the larger and softer your background (and any lights in it) will be.
And remember, like many other photographic techniques, the use of bokeh is entirely subjective!
Use it as you would any other tool to experiment with and enhance your images. Just be sure to always keep your subject, composition, and exposure in mind!

BOKEH-SHOP

“But PHLEARN,” you ask, softly. “What if I don’t have a DSLR and a super-sweet lens?”
We’re glad you asked, human. The answer, as always, is Photoshop.
In this tutorial we break down a surprisingly easy and useful technique to add bokeh to your images. To follow along, you’ll need two images: an image with a subject and an image of bokeh lights with a dark background.
Now gather ‘round. Like all good adventures, this one begins with LAYER BLENDING MODES.
Drag your bokeh image over your subject image as a new layer – make sure your subject is on the bottom of the layer stack and the bokeh on top. Click on the bokeh layer and change the LAYER BLENDING MODE to SCREEN. This will remove the black and dark areas of the image, leaving only those plump and creamy lights behind. After you’ve isolated the bokeh, feel free to move and TRANSFORM that layer so that it fits with the lighting in your base image. If needed, you can duplicate the bokeh to add more varied effects.
Once you’ve placed the bokeh, load a Layer Mask onto each bokeh layer and use the BRUSH TOOL to paint black over the areas that you don’t want to be visible. We recommend a large soft brush, with a low FLOW.
Quick Tip: Make sure that all of the lights you decide to keep are completely visible and not partially removed.
You can use the BRUSH TOOL to sample colors from your base image to help blend the lighting together. Simply select the BRUSH TOOL, and SAMPLE the color from the base image that you want to blend. We recommend using a soft brush with a flow of about 50%. Create a NEW LAYER and paint around the areas that you want to blend.
Since the color of the light in the subject image won’t always match the color of the bokeh lighting, you can use ADJUSTMENT LAYERS and SMART FILTERS to help make them appear as though they’re in the same environment.
You can create a new ADJUSTMENT LAYER and clip it to the layer you want to affect. COLOR BALANCE and HUE/SATURATION adjustment layers are both great options to start with.
Alternatively, you can RIGHT CLICK on the layer you want to color and select CONVERT TO SMART OBJECT. This will allow you to apply SMART FILTERS to a single layer which can be toggled on/off or changed at any time.
As a finishing touch, you can add a GRADIENT MAP on top of your layer stack to integrate the pieces of the image together.
We hope that this answered your question, human! Now go and add big beautiful bokeh to your holiday photos that will bring tears to your mother’s eyes.

May 20, 2018

Create a Stranger Things Image & Cinemagraph: Shadow Monster

Today, we’re venturing into the Upside Down to bring a giant shadow monster to life. We’ll show you step-by-step how to create the environment and the creature. Then we’ll animate them into a cinemagraph.


STRANGER DANGER

We’re creating this image from scratch, using only stock images for some environmental elements and then we’ll be drawing in the monster and some additional structures. This image is all about creating depth, so we’re starting with our stormy sky background and then we’ll be slowly working our way to the foreground.

Quick Tip: When creating an image with a lot of depth, it’s generally a good idea to start with the elements that are further away and the work your way up to the foreground elements.
We also recommend placing a Black & White adjustment layer on the top of your layer stack before starting. This will help you focus more on highlights, shadows, and composition as you piece your image together. You can disable this or remove it at anytime, and we’ll eventually want it off once we start the coloring process.
Layer Blending Modes are going to be a huge asset as we continually add new layers to build the composite. For example, to create the sky, we brought in the image of our stormy sky, Duplicated that layer by hitting CTRL or CMD + J and then changed the Blending Mode of the new layer to Multiply. Use our FREE custom Cloud Brush to blend your cloud layers and add more variety.

Tools & Techniques

There are a variety of tools and techniques used to Mask objects in Photoshop and we’ll be using a ton of them throughout this tutorial. We’ll use everything from the Magic Wand Tool (W), to the Lasso Tool (L), to Channels, to Selective Color to make our masks. We’ll go over what masking techniques are best for specific situations.
We’ll be drawing in all of the elements that aren’t part of a stock photo. In this case, the light posts and the monster were created by hand. Using the Brush Tool (B), along with the same Cloud Brush that we used earlier, simply paint in shapes for each of the monster’s limbs. Since we’re working primarily in silhouette, it’s surprisingly easy to get something that looks like it’s emerging from the clouds. By sampling (ALT or OPTN) colors from the clouds, you can paint additional clouds in front of the monster which will help incorporate it into the environment. We recommend a flow of about 1% since we want this effect to be relatively subtle.

Additional Elements

For the additional buildings, light posts, and power lines, you can use a combination of the Rectangular Marquee Tool (M), Polygonal Lasso Tool (L), and Pen Tool (P) to draw in more foreground elements. Again, since we’re working with silhouettes, this process is incredibly easy and effective.
We wanted to make this image more dynamic and thought it would be perfect for making into a simple cinemagraph. You can animate images in Photoshop by using the Video Timeline. By adding Key Frames for opacity adjustments to the lightning layers and street light layers, you can create the illusion of lightning flashes and flickering lights. If you’ve never made a cinemagraph before this is a great place to start! We also added a bit of opacity change to the monster to create the appearance of a little more movement.
Alright, ya demogorgons, that’s all we’ve got this week. We wanted to keep this image relatively simple so that once you understand the techniques, you can play around to create a monster image and animation that’s all your own. So have fun and be creative!
May 20, 2018

Create a Double Exposure Video in Photoshop


Impressive Video Effects in Photoshop

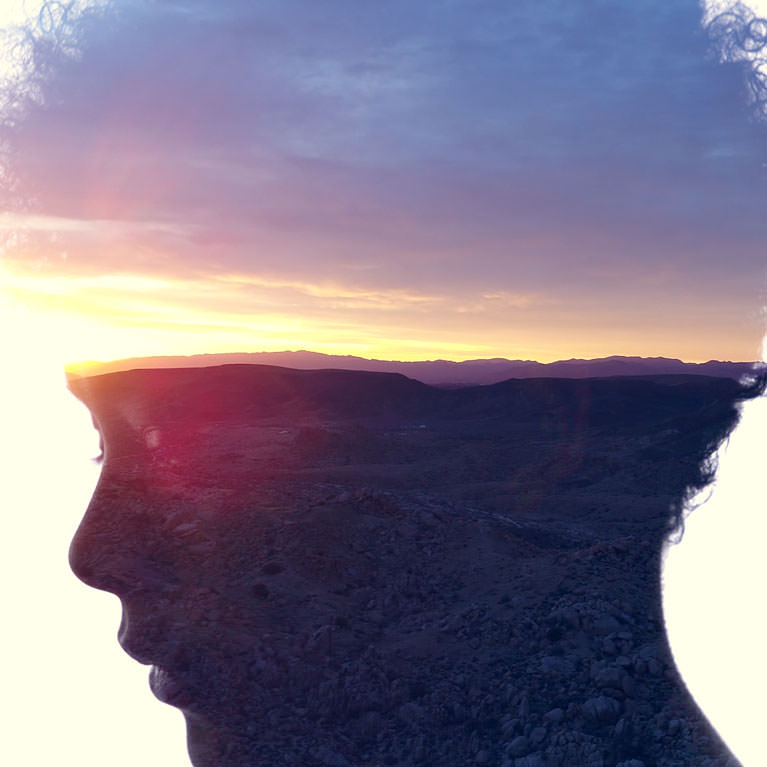
Since the early days of film, double exposure techniques have been a staple in creating dreamy and surreal images. In this tutorial, we not only show you how to create your own double exposure effect, but we also demonstrate how to pull it off using video in Photoshop.

Follow Along!

For this tutorial, we’ll be using two videos: one of Angela in silhouette against a plain white background, and one of a desert sunrise that we captured via drone during the recording of Photography 101. Feel free to download our sample videos to practice or use your own! For this particular technique, you’ll want one video of a dark subject against a light background and the second video can be of anything you want.

The Video Timeline

Dropping the videos from your file explorer into Photoshop will add them as Layers and convert them to Smart Objects. The firs thing you’ll want to do is open up the Video Timeline. Go to Window and then down to Timeline. The Timeline window will open and give you the option to create a video timeline or a frame animation. Choose video timeline.
The timeline will open and you’ll be ready to create the double exposure effect.

Double Exposure

Blending Modes in Photoshop make creating double exposure effects incredibly fast and easy. Make sure the layer with the silhouette of your subject is on the top of layer stack. Your other video should be directly underneath. Change the Blending Mode on the subject layer to Screen. This will make the darker areas mostly transparent and keep the lighter areas mostly opaque.
That will get us most of the way there. The background is still slightly visible in the white areas of the video. We can fix that using a Levels Smart Filter. Simply select the Layer with your subject and hit CTRL or CMD + L. Since the layer is already a smart object, Photoshop will apply a Levels Smart Filter. Levels will allow us to adjust the light and dark areas of an image.
Select the slider on the right which controls the white point of the image. Drag it to the left until the background becomes completely white and opaque. Then, take the slider on the left which controls the black point of the image and drag that slightly to the right. This will add a bit more contrast into the background image.

The Finishing Touch

We’ve got the look that we want, now we just need to trim our clips to the sections that we want to use in our final video. Scrub through each clip until you find the point where you want the video to begin. then simply drag the beginning and ending of each clip to match the starting and ending points that you want.
The cake has been baked, now let’s add the icing. A little bit of coloring can go a long way in establishing tone and style. Since Photoshop treats video as it were like any other layer, we can use a Levels Adjustment Layer to do the job. For our version, we selected the Blue Channel in the Levels properties dialog. Adding a little bit of yellow into the highlights and blues into the shadows gave us a look that we were happy with. Feel free to experiment! Color and tone is entirely subjective, so feel free to push it as far as you like.

On a Render Bender

Photoshop allows you to render video as well. Go to File, Export, and select Render Video. Adjust the settings to your taste – we went with H.264 at high quality and a resolution of 1920 x 1080.